
Let’s paint – 9
Mum’s the word
Welcome to this step-by-step tutorial on how to paint this sheep and lamb. The technique used in this painting are similar to those demonstrated in the video in painting a spring lamb in watercolour so, if you haven’t already seen this, it might be worth a quick look.
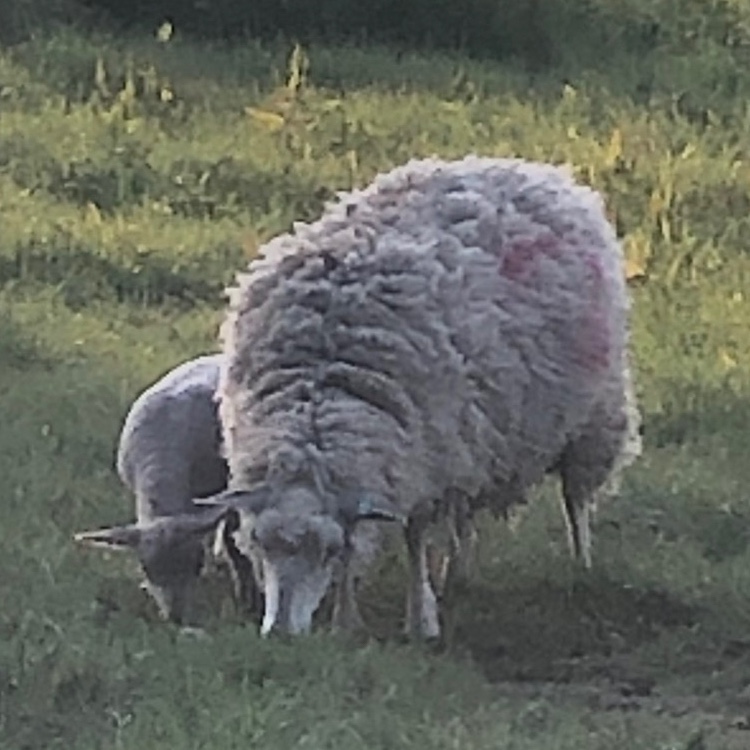
1: Study the resource photo. The planning stage can easily be overlooked in the excitement of starting to paint and is such an important stage before picking up your brushes. Look for the light sections, the dark sections, texture and colours. The sheep are “back-lit’ in this photo, making them appear dark with a little halo of light around the edge.
2: Composition. Again this is really important and really worth having a good think first. Painting the sheep small within the composition will mean you have a large amount of background and painting them larger may deprive the viewer of a feeling of space. I have chosen to make the sheep larger within the painting with less background. There is much to play with in the texture of the fur and I’d like that to be a feature of the painting. Although I have placed the sheep centrally, the focal point is the heads and this is to the lower left of the painting. Sketch the sheep with a soft pencil (I use 4b).

3: Masking fluid (blue) is applied along the left side of the necks and along the tops of the ears. Leave to dry. Paint the heads, wet-on-dry. Try to avoid painting “grey” – ultramarine blue and burnt sienna will give a grey, but you can add other colours to “warm it up” (small amounts of raw sienna, alizarin crimson or permanent mauve). Leave to dry.

4: Wet all around the bodies, but not the head and leg area. Now we are going to be painting wet-in-wet so your pigment will have to be a little more concentrated – a watery wash will just disappear into the water that is already on the paper. Start to add a similar colour mix that you used for the head to the bodies of the sheep and lamb. Don’t cover all the bodies, use short brush strokes to make marks into the water. Keep building up using darker pigments as the paper is drying. Add salt into the drying wash. Paint the legs and bring the green wash around the leg area. As this begins to dry add darker green to the grass. My greens are a real mixture. Ultramarine blue, lemon yellow, pthalo blue, burnt Sienna – I just keep mixing! Keep adding darker colours to the painting to the sheep/lamb and background until the paper is feeling too dry to carry on. Splatter titanium white across the back of both sheep and lamb by tapping the brush across your finger. Leave to dry.

5: Rub off the masking fluid. Add some more titanium white to the backs of both. Add a little darker section on the head on the right sheep – using a little ultramarine blue and burnt sienna. Go easy with this though, just a little is needed to help enhance the shape of the face. These little finishing touches are all that is needed. When the painting is completely dry, you can gently rub out any pencil lines.

Have fun and hope you love painting these. Let me know how you get on.